Overview
Cloudflare Pages is a powerful platform for hosting static websites with global CDN distribution, but the manual deployment process can be time-consuming. This comprehensive guide walks you through creating an automated deployment system that instantly uploads HTML files to Cloudflare Pages using the Wrangler CLI and Python automation.
Our solution eliminates the need for manual uploads, Git repositories, or complex CI/CD pipelines. Instead, you'll have a simple system where you can paste HTML content and get a live URL in seconds.
🛠️ Technical Requirements
- Node.js (v16 or higher) for Wrangler CLI
- Python 3.7+ for automation scripts
- Cloudflare Account with Pages access
- API Credentials (API Key + Email or API Token)
- Command Line Access (Terminal/Command Prompt)
Phase 1: Research and Planning
Before building our automation system, we researched the available deployment methods for Cloudflare Pages. The platform offers three primary approaches:
Deployment Methods Comparison
- Git Integration: Automatic deployments from GitHub/GitLab repositories
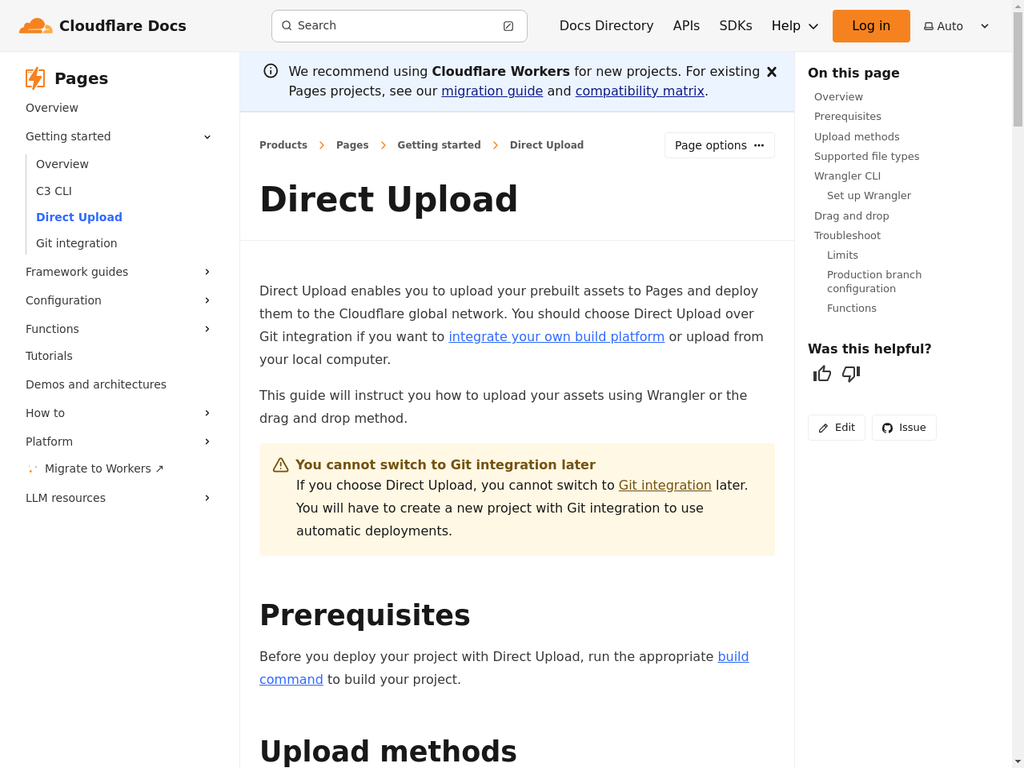
- Direct Upload: Manual drag-and-drop in the Cloudflare dashboard
- Wrangler CLI: Command-line deployments with automation potential
After evaluating these options, we chose the Wrangler CLI approach because it offers the best balance of automation capabilities, reliability, and official support.

API Research Findings
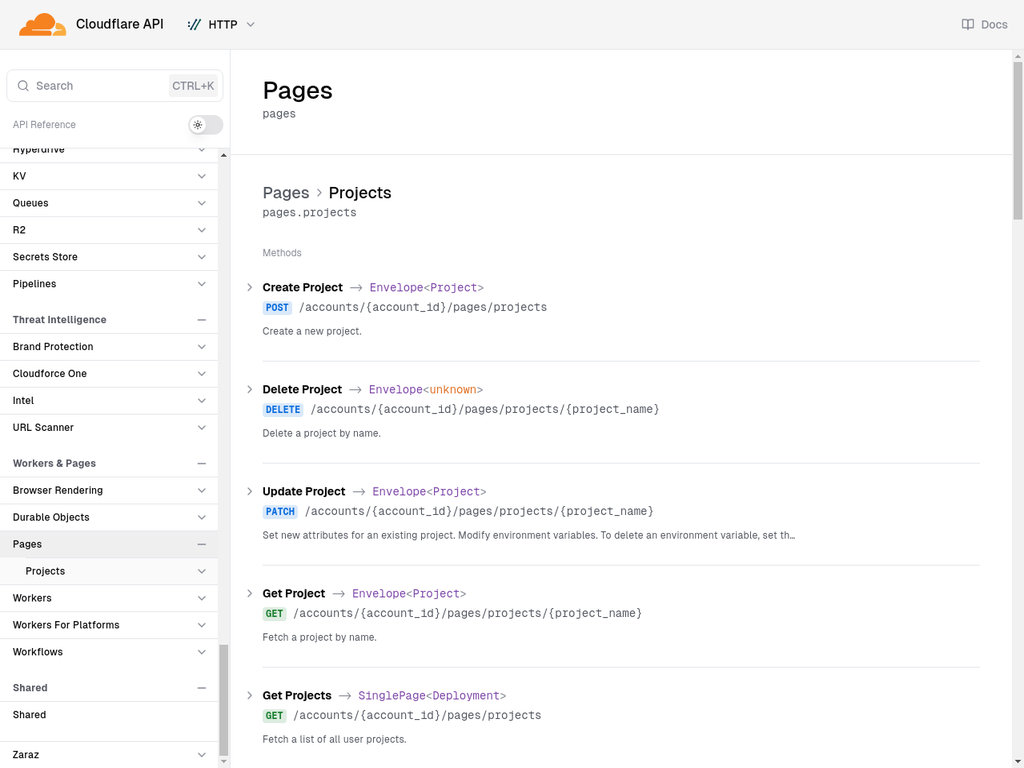
We also investigated the Cloudflare Pages API to understand the underlying deployment process. While there are unofficial methods for direct API deployment, the Wrangler CLI provides a more stable and supported approach.

Phase 2: Authentication and Environment Setup
Install Wrangler CLI
The first step is installing the Wrangler CLI, which is Cloudflare's official command-line tool for managing Workers and Pages projects.
Configure Authentication
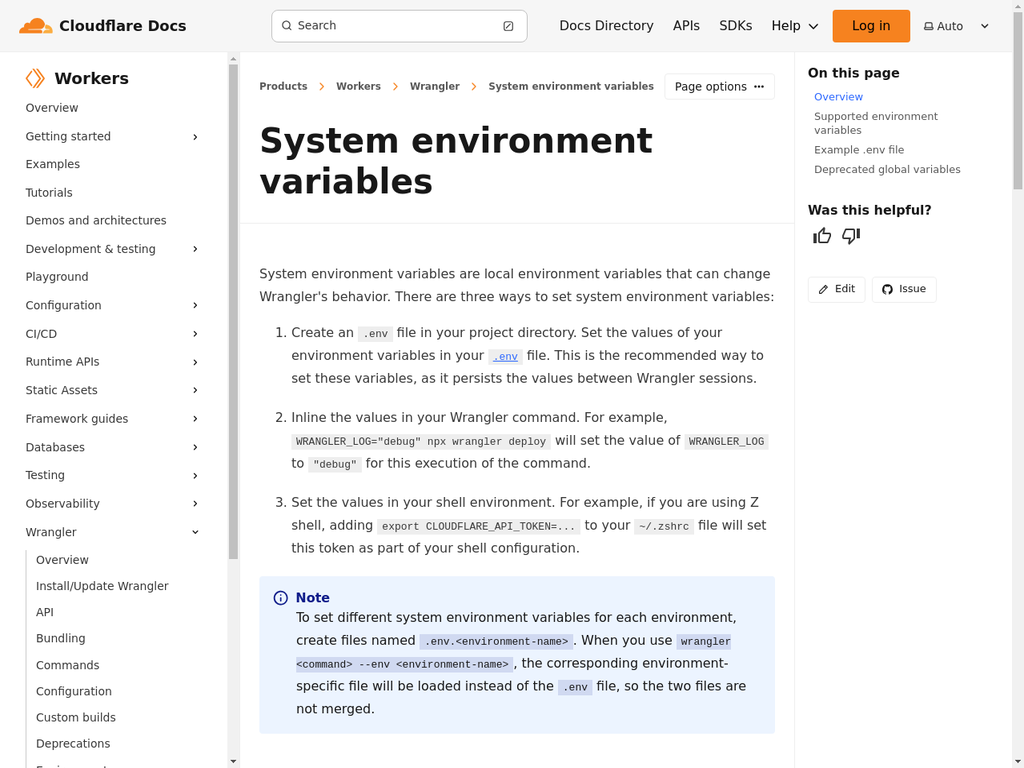
Wrangler supports multiple authentication methods. For automation purposes, we use environment variables with either an API Token or the legacy API Key + Email combination.

Method 1: API Token (Recommended)
Method 2: API Key + Email (Legacy)
Test Authentication
Verify that your authentication is working by listing your existing Pages projects:
If authentication is successful, you'll see a table of your existing Pages projects (or an empty table if you don't have any yet).
Phase 3: Creating the Automation Script
Now we'll create a Python script that automates the entire deployment process. This script handles project creation, file management, and deployment orchestration.
Core Deployment Script
Here's the complete Python automation script that handles HTML deployment:
Hello, Cloudflare Pages!
This site was deployed automatically.
""" result = deployer.deploy_html(sample_html) if result['success']: print(f"✅ Deployment successful!") print(f"URL: {result['url']}") else: print(f"❌ Deployment failed: {result['error']}")Phase 4: Testing the Deployment Process
After creating our automation script, we thoroughly tested it to ensure reliable deployments. Here's what we discovered during the testing phase:
Initial Testing Challenges
Our first attempts encountered some common issues that you might face:
Issue 1: Interactive Mode Requirements
Wrangler initially tried to run in interactive mode, prompting for user input. We solved this by:
- Creating projects explicitly before deployment
- Using the --production-branch flag
- Ensuring all required parameters are provided
Issue 2: Project Creation Workflow
We discovered that the optimal workflow is:
- Create the project first with wrangler pages project create
- Then deploy content with wrangler pages deploy
Successful Test Deployment
Once we resolved the initial issues, our test deployments worked perfectly:
Advanced Features and Optimizations
Smart Project Naming
Our system automatically generates sequential project names (site-001, site-002, etc.) by:
- Querying existing projects via the Wrangler CLI
- Parsing project names to find the highest number
- Incrementing to create the next available name
- Falling back to timestamp-based names if needed
Error Handling and Resilience
The script includes comprehensive error handling for common scenarios:
- Network connectivity issues
- Authentication failures
- Project name conflicts
- Invalid HTML content
- Wrangler CLI errors
Wrapper Functions for Easy Use
We created simple wrapper functions that make deployment as easy as a single function call:
Troubleshooting Common Issues
Authentication Problems
Symptoms:
- OAuth login prompts appearing
- "Authentication failed" errors
- Permission denied messages
Solutions:
- Verify environment variables are set correctly
- Check API key/token permissions
- Ensure account ID is accurate
- Try regenerating API credentials
Deployment Failures
Common Causes:
- Invalid HTML syntax
- File size limitations exceeded
- Network connectivity issues
- Project name conflicts
Debugging Steps:
- Validate HTML with W3C validator
- Check file sizes and counts
- Test network connectivity
- Review Wrangler logs
Best Practices and Recommendations
Security Considerations
- Environment Variables: Never hardcode API credentials in scripts
- API Tokens: Use API tokens instead of global API keys when possible
- Permissions: Grant minimal required permissions to API tokens
- Rotation: Regularly rotate API credentials
Performance Optimization
- File Optimization: Minify HTML, CSS, and JavaScript before deployment
- Image Compression: Optimize images for web delivery
- Caching: Leverage Cloudflare's caching capabilities
- CDN Benefits: Take advantage of global edge locations
Monitoring and Maintenance
- Deployment Logs: Monitor deployment success/failure rates
- Performance Metrics: Track site loading times and availability
- Error Tracking: Implement error logging and alerting
- Regular Updates: Keep Wrangler CLI updated to the latest version
Conclusion
We've successfully created a comprehensive automated deployment system for Cloudflare Pages that transforms the manual upload process into a streamlined, one-command operation. This system provides:
✅ Key Benefits Achieved:
- Instant Deployment: HTML to live URL in under 30 seconds
- Global CDN: Automatic distribution across Cloudflare's network
- Zero Configuration: No Git repositories or CI/CD setup required
- Smart Automation: Intelligent project naming and error handling
- Production Ready: Robust error handling and logging
This automation system is particularly valuable for:
- Rapid Prototyping: Quickly test and share HTML prototypes
- Client Presentations: Instantly deploy demos for client review
- Educational Content: Share examples and tutorials with live URLs
- A/B Testing: Deploy multiple variations for testing
- Documentation: Host technical guides and documentation
The system we've built demonstrates the power of combining Cloudflare's robust infrastructure with intelligent automation. By leveraging the Wrangler CLI and Python scripting, we've created a deployment pipeline that rivals enterprise-grade solutions while remaining simple enough for individual developers to implement and maintain.